


Elephant Foot in 3D Printing: Why the Bottom Layers Bulge and How to Fix It

Marco Ellis
November 20, 2026
You printed a box and its lid, and the lid will not slide on. Or a peg that should drop into a hole jams halfway, or the bottom edge of an otherwise clean part has a little lip running all the way around it. Run a fingernail down the side and you feel it: the first layer or two stick out farther than everything above. That flared base is called elephant foot, and on parts that have to fit together, a few tenths of a millimeter is enough to ruin the fit.
The good news is that elephant foot has a short list of causes and a very effective software fix. The order matters, though. Compensating in the slicer for a first layer that is badly over-squished hides the symptom while the cause keeps growing, so diagnose first and compensate second.
What elephant foot looks like, and what it is not
Elephant foot is a bulge at the very bottom of the part, usually the first layer and sometimes the first few. The walls above are straight and correctly sized; only the base is wider. Bambu Lab’s wiki describes it as the bottom of the model being wider than the layers above it, forming a protruding rim. On decorative prints it is easy to ignore. On assemblies, snap fits, rails and holes for shafts, the wiki notes, it directly affects fit and can stop parts from going together at all.
A few defects look similar but need different fixes:
- A lip that curls upward at the corners is warping, not elephant foot. The base is lifting off the plate as the plastic shrinks. See our guide to why 3D prints warp.
- A bulge on every layer, or walls that are oversized all the way up, points to over-extrusion or a flow calibration problem, not a first-layer issue.
- A rough, wavy or ridged first layer that is not wider but uneven usually means the nozzle height varies across the plate, which is a leveling problem.
- Holes that are too small at the bottom only are elephant foot working inward. The same bulge that pushes outer walls out also pushes into holes and slots.
Four causes, usually working together
Elephant foot is mostly a first-layer problem with a little help from gravity. Bambu Lab’s wiki points to two forces acting at once: heat from the bed keeps the first layer soft, and the weight of the layers above presses down on a base that has not fully set. Prusa’s knowledge base describes the same root cause: the first layer is squished against the heated bed, so it ends up slightly wider than intended. In practice four things make it worse.
1. The nozzle is too close on the first layer
A good first layer is slightly flattened so the lines merge and grip the plate. Too little gap and the nozzle pushes plastic sideways instead of laying it down, so the outer line spreads past the wall’s true position. This is the most common cause, especially after someone has lowered the Z offset to fix poor adhesion. Our first-layer adhesion guide explains how to set nozzle height correctly in the first place, and why chasing adhesion by lowering Z can cause other problems.
2. The bed is too hot
A bed above the filament’s recommended range keeps the bottom layers soft for longer, so they slump and spread under the weight above. PLA and PETG are the usual victims because they soften at relatively low temperatures. If you raised the bed temperature to fight adhesion or warping, that change may have traded one defect for another.
3. Too much plastic on the first layer
Many profiles deliberately use a wider first-layer line or extra first-layer flow to help adhesion. Push that too far and there is simply more material than the space between nozzle and plate can hold, so it squeezes outward. The relevant settings are First layer flow ratio in OrcaSlicer, Initial Layer Flow in Cura (default 100%) and the first-layer line width in each slicer.
4. A heavy part sitting on a soft base
Bambu Lab’s wiki notes that larger models and wider bases usually show more noticeable elephant foot, because more weight is pressing on bottom layers that are still warm. You cannot remove the weight, but you can reduce how soft the base stays and how much material sits in the first layer.
Fix it in this order
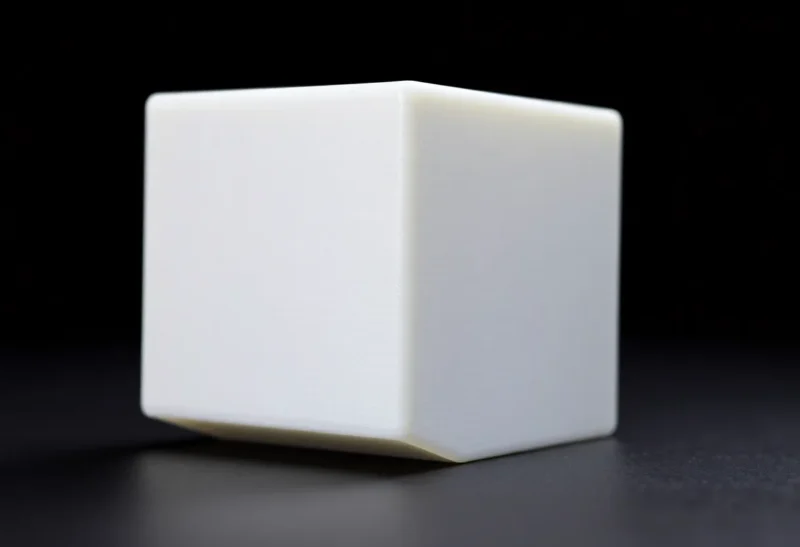
Work through these steps one at a time and print a small test part after each change. A 20 to 25 mm cube or a short square tube is enough.
- Check the first-layer height. Look at the first layer under good light. The lines should be flattened and touching, with no gaps between them, but not smeared into a shiny sheet with ridges pushed up at the edges. If the layer looks over-squished, raise the Z offset slightly in small steps. On printers with automatic leveling, re-run leveling before adjusting anything, and make sure the plate type selected in the slicer matches the plate on the printer.
- Bring the bed temperature back into the filament’s range. Check the recommended range on the spool label or the maker’s datasheet, and if you are at the top of it, try the middle. Many slicers let you set a separate first-layer bed temperature, which is a useful place to start.
- Reset first-layer flow and line width to the profile defaults. If you or a downloaded profile raised them, bring them back and see whether the bulge shrinks.
- Calibrate overall flow if every layer is oversized. If the whole part measures large, elephant foot compensation is the wrong tool; run your slicer’s flow calibration first.
- Then apply elephant foot compensation to remove the small, unavoidable flare that remains with a correctly set first layer.
The last step is what most people need anyway. Even a perfectly tuned first layer is a little wider than the walls above because it has to be pressed into the plate to stick. Compensation exists for that remainder.
The slicer settings that shrink the first layer
Every major slicer has a setting that pulls the outline of the first layer inward by a set amount, so that after it squishes, it lines up with the walls above.
Bambu Studio
The setting is Elephant foot compensation, found under Process, Quality, Precision, according to Bambu Lab’s wiki. The bundled 0.20 mm Standard process profiles set it to 0.15 mm for the P1P, P2S and X1 Carbon, 0.075 mm for the A1 and 0 for the A1 mini, based on Bambu Studio’s profile files. Bambu Lab’s wiki says the default is fine for general models and recommends measuring your own value for tight-tolerance parts.
OrcaSlicer
OrcaSlicer uses the same Elephant foot compensation setting in the Quality section of the process settings, with the value taken from the printer’s process profile. It adds Elephant foot compensation layers, which spreads the compensation over several layers: the first layer is shrunk by the full value, and the following layers are shrunk progressively less until the layer number you set. That helps when the bulge covers more than one layer, which is common on heavy parts.
PrusaSlicer
The setting is also called Elephant foot compensation, under Print settings, Advanced. Prusa’s knowledge base notes that it is hidden in Simple mode, so switch to Advanced or Expert mode to see it. Prusa says its official profiles have it enabled and that values around 0.2 mm usually work well with a 0.4 mm nozzle. Since version 2.2, PrusaSlicer detects thin lines in the first layer and avoids shrinking them too much, so small features do not disappear.
Cura
Cura calls it Initial Layer Horizontal Expansion, in the Walls section. The default is 0. Cura’s description says a negative value compensates for the squishing of the first layer known as elephant’s foot, so enter it as a negative number, for example -0.1 mm, rather than the positive values the other slicers use.
Side effects to expect
- Brims may not touch the part in the preview. Bambu Lab and Prusa both note that compensation can leave a visible gap between brim and part in the preview. The real squish usually closes it during printing. Prusa adds that if the brim does not connect on the actual print, the compensation value is probably too high.
- Thin features can look distorted on the first layer. Prusa’s knowledge base notes this happens in the preview where thin features join larger parts, and that it affects only the first layer.
- Too much compensation leaves a notch. An over-corrected base is narrower than the walls above, which is easy to spot with a fingernail.
Measuring the right value with calipers
For parts that have to fit together, measure instead of guessing. Bambu Lab’s wiki gives a simple method that works with any slicer:
- Clean the plate, run leveling and, if your printer supports it, flow calibration.
- Set elephant foot compensation to 0 and turn the brim off.
- Print a test block. Bambu Lab’s example uses a cube scaled to 25 × 25 × 10 mm.
- Let the bed cool fully to room temperature before removing the part. The wiki warns that forcing a warm part off can deform it.
- With digital calipers reading to 0.01 mm, measure the X and Y size near the top of the block, away from the base. Measure in the middle of each side, not at the corners.
- Measure the X and Y size at the very bottom edge, letting the jaws touch the flare lightly. Squeezing compresses the soft edge and gives a reading that is too small.
- Subtract each top measurement from its bottom measurement, then average the X and Y differences.
In Bambu Lab’s worked example, the base measures 0.09 mm larger in X and 0.11 mm larger in Y, so the compensation value is 0.10 mm. Enter that value in your slicer (as a negative number in Cura) and print the block again to confirm the base now matches the walls.
Two caveats from the same wiki page: the value depends on the build plate, so measure again after switching plates, and compensation is meant for the small, consistent flare left by a correctly set first layer, not for an over-squished one.
Designing a chamfer so the bulge has nowhere to show
If you model your own parts, a design trick removes the problem from the edges that matter: add a small 45° chamfer along the bottom edge of the part, a little larger than the bulge you measured. A chamfer of about 0.5 mm is a common starting point for a 0.4 mm nozzle. The first layer is printed slightly inside the outline, so when it squishes outward it fills the chamfer instead of sticking out past the wall.
The same idea helps elsewhere:
- Holes and slots on the bottom face can get a small chamfer or countersink at the opening, so a bolt or pin is not blocked by a ridge at the entrance.
- Mating faces that sit on the plate can be moved up a layer or two with a slight recess, so the flared first layer never touches the other part.
- Snap fits and sliding lids are often better printed in an orientation where the critical surfaces are not on the first layer at all.
A chamfer also looks cleaner than a sharp bottom edge and is easier to remove from the plate. Because it is part of the model, it works with any printer and slicer, which makes it a good habit for designs you share with others.
Making the fix stick across prints
Elephant foot rarely needs repeated tuning once the cause is fixed. Save the corrected first-layer settings and the measured compensation value in your process or printer profile, not as a one-off change to a single project. If you use more than one slicer, our comparison of OrcaSlicer and Bambu Studio covers how their profiles differ, which matters when you move a tuned value from one to the other.
Recheck the value when something that affects the first layer changes: a new build plate, a different nozzle size, a new filament type or a large change in bed temperature. A quick printed block and two caliper readings will tell you whether the old number still holds.