


Why 3D Prints Warp and How to Stop the Corners Lifting

Marco Ellis
November 20, 2026
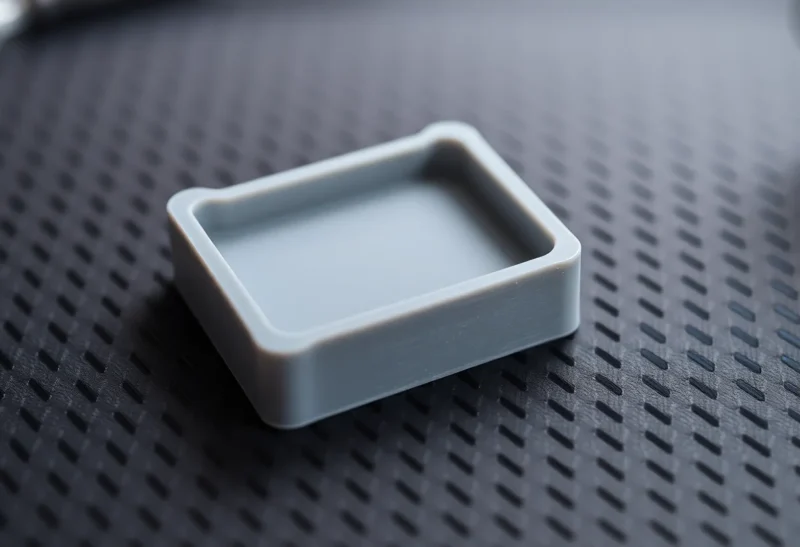
The first layer went down cleanly, the print ran for an hour, and now the corners have peeled up off the plate. Maybe a crack has opened in the side of the part, or the base rocks when you set it on a table. That is warping. It is one of the most common failures in desktop printing and one of the most fixable, but only once you know which of several causes is behind it on your printer, with your material, in your room.
Below, the fixes are grouped by cause so you can go straight to the one that matches what you see. If the first layer never sticks at all, start with our guide to a first layer not sticking to the build plate instead.
Plastic shrinks as it cools, and the corners lose the tug of war
Every thermoplastic gets smaller as it cools. Each new layer is laid down hot on top of layers that have already cooled and shrunk, so it contracts on a base that has already settled. That mismatch builds internal stress. The part tries to curl, and the only thing stopping it is its grip on the build plate.
Bambu Lab’s wiki describes it plainly: the outer edges of a print cool faster than the center, creating tension that pulls the corners up. Corners lose first because they have the least surrounding material holding them down, and the bond under a corner is tiny compared with the pull from the long edges on either side.
Several things make the tension worse:
- Large footprints. A long, flat part accumulates more shrinkage along its length than a small one.
- Dense infill. More plastic per layer means more shrinking material. Bambu Lab’s wiki suggests avoiding infill above 50% on parts prone to warping.
- Straight-line infill patterns. The same wiki notes that grid and triangle infill create internal linear tension, and suggests gyroid at 25% or less for large flat parts because it shrinks more evenly.
- Fast, uneven cooling. Drafts, strong fans and cold rooms pull heat out of the outer walls faster than the inside of the part.
How much your material shrinks decides how hard you have to fight
Material choice matters more than any single setting. Bambu Lab’s troubleshooting wiki ranks shrinkage-prone filaments from highest to lowest risk as PC, PA-CF, PA (nylon), ABS, ASA, PETG and PLA. It recommends PLA, PLA-CF, PETG or PETG-CF for large flat prints when possible.
In practice that splits filaments into two camps:
- PLA and PETG shrink relatively little and print well on open-frame machines. They still warp on big parts, in cold rooms or in drafts. Bambu Lab’s wiki says that in a room under 20°C, warping can show up even with these more forgiving materials.
- ABS, ASA, nylon and PC shrink much more. Prusa’s knowledge base names PC Blend, ASA and ABS as the materials most affected by corner lifting, especially on large objects. These materials need a warm environment around the part, not just a hot bed.
Our comparison of filaments for outdoor use covers when ASA is worth the extra effort. If a large flat panel keeps warping in ABS and the part does not need ABS’s heat resistance, switching to PETG may solve the problem faster than any tuning. Our PETG vs PLA guide covers the trade-offs.
Fixes for a weak grip on the plate
Shrinkage pulls; adhesion holds. If the grip is marginal, even PLA lifts. The full adhesion checklist lives in our first-layer article, so here are only the points that matter most for warping:
- Clean the plate with dish soap and warm water. Bambu Lab’s wiki calls this one of the basic steps that solve most warping and adhesion failures, and it says to avoid touching the print surface with bare hands afterward.
- Tell the slicer which plate is actually installed. Bambu Lab’s wiki explains that the same filament uses different bed temperatures on different plates, and that its printers lower the nozzle by 0.04 mm after leveling when the Textured PEI Plate is selected. Pick the wrong plate in the slicer and you get both a cooler bed and a first layer that sits too high.
- Raise the bed temperature a little. Bambu Lab’s quick fix for lifting corners is to increase bed temperature by 5 to 10°C, staying within the filament’s range.
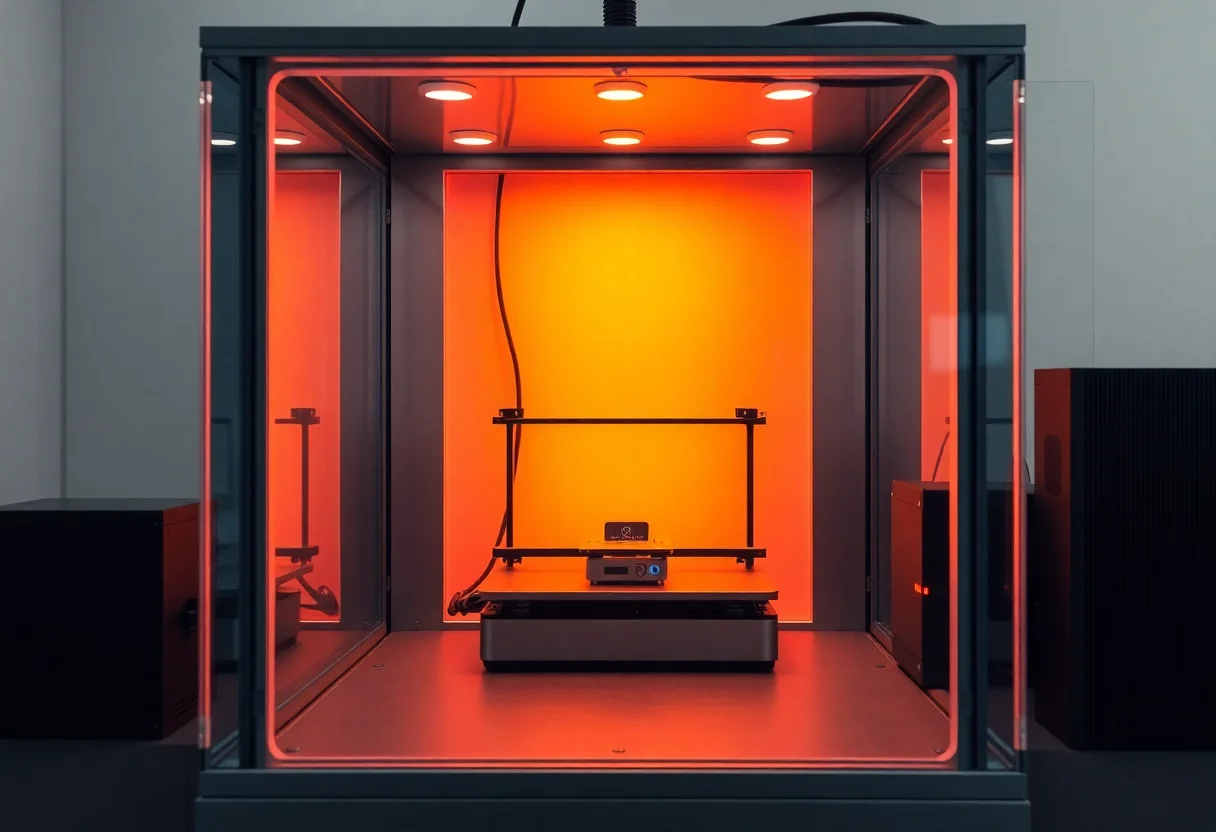
Fixes for cold air around the part: bed heat, enclosures and drafts
A heated bed keeps the bottom layers warm, but the upper layers of a tall part sit in whatever air surrounds them, so air temperature matters as much as bed temperature.
Open-frame printers
Bambu Lab’s wiki points out that on a printer without an enclosure, such as the A1, the air around the model is simply room temperature, so warping is common with ABS, ASA, nylon and PC. For PLA and PETG in a cool room, its advice is to raise the bed temperature by about 10°C and make sure there are no drafts. Look for open windows, ceiling fans and air-conditioning vents near the printer.
Enclosed printers
For ABS and ASA, Bambu Lab’s troubleshooting table recommends closing all doors and the top cover, raising bed temperature by 10 to 15°C and letting the chamber reach 40°C or more. Prusa’s knowledge base agrees that high-temperature materials generally need a higher ambient temperature to avoid warping and recommends an enclosure if you print them often.
Some newer machines heat the chamber actively. Bambu Lab lists active chamber heating up to 65°C for the H2D, for example. In OrcaSlicer, the Chamber temperature setting can pass a target to printers that support it; the OrcaSlicer tooltip notes that a higher chamber temperature helps suppress warping in ABS, ASA, PC and PA, but should be left at 0 for PLA, PETG and TPU to avoid softening filament in the heat break.
Prusa’s knowledge base adds that printing PLA or PETG in a closed enclosure might not be a good idea because they need strong cooling, and that for high-temperature materials a printed skirt around the part helps hold warm air near it.
A short note on ABS and ASA fumes
Enclosing ABS and ASA keeps the heat in, and it also keeps the fumes in until you open the door. Both materials give off noticeable odors and emissions while printing. Run the printer in a well-ventilated room or use filtration or exhaust, let the chamber clear before opening it, and keep the printer out of bedrooms and living spaces. OrcaSlicer’s own tooltip notes that a higher chamber temperature reduces the efficiency of air filtration for ABS and ASA. See our safety disclaimer for general guidance.
Fixes for too much part cooling in the first layers
The part cooling fan blows directly at the freshest plastic. That is great for overhangs and bridges in PLA, but on the first few layers it cools the base quickly and unevenly, which is exactly what you do not want.
Bambu Lab’s wiki calls No cooling for the first X layers one of the most important settings for warping and suggests three layers with no cooling for common filaments such as PLA, PETG and TPU. It also suggests lowering the auxiliary part cooling fan to around 40 to 50% if you see warping, since that side fan mostly benefits small PLA parts and steep overhangs.
Here is where the equivalent settings live in each slicer:
- Bambu Studio and OrcaSlicer: Filament settings, Cooling tab.
No cooling for the firstsets how many layers run with the fans off.Full fan speed at layerramps the fan up gradually from that point instead of switching straight to full speed. The auxiliary fan setting appears there too on printers that have one. - PrusaSlicer: Filament settings, Cooling.
Disable fan for the firstsets the layer count; Prusa’s knowledge base says typical values are 1 to 5 layers, used to reduce warping and bed detachment. Prusa also notes thatKeep fan always onis typically off for ABS, ASA and PC. - Cura: Cooling section.
Initial Fan Speed(default 0%) controls the fan at the start, andRegular Fan Speed at Layer(default layer 2) orRegular Fan Speed at Heightsets where the fan reaches its normal speed.
For ABS and ASA, stock profiles already run low fan speeds. If small features in these materials need some cooling, Prusa’s knowledge base suggests a low fan speed of around 10 to 20%.
Brims and mouse ears give the corners more to hold on to
A brim is a flat, single-layer border around the base of the part. It increases contact area and moves the weakest point of adhesion away from the corners.
- Bambu Studio and OrcaSlicer:
Brim typeandBrim width. OrcaSlicer’s options include Auto, Mouse ear, Painted, Outer brim only, Inner brim only, Outer and inner brim and No-brim. Bambu Lab’s troubleshooting table suggests an 8 to 10 mm brim for PLA parts with lifting corners. - PrusaSlicer:
Brim typeandBrim widthunder Print settings, Skirt and brim. - Cura: set
Build Plate Adhesion Typeto Brim. The defaultBrim Widthis 8 mm.
Mouse ears (also called brim ears) are small brim patches only at the sharp corners, which leave less cleanup. OrcaSlicer generates them automatically with the Mouse ear brim type. Bambu Lab’s wiki recommends setting Brim type to Painted in Bambu Studio and then using the brim ears tool to place them on the corners that lift. In slicers without a built-in option, you can add thin discs one or two layers tall at each corner. Prusa’s knowledge base suggests this approach too: a small temporary shape at the spot that lifts, only a few layers tall so it is easy to remove.
One interaction to know about: elephant foot compensation shrinks the first layer slightly, which can leave a visible gap between the part and the brim in the slicer preview. Both Bambu Lab and Prusa note that this is expected and that squished plastic usually closes the gap when printing. More on that in our guide to elephant foot.
Design changes that remove the stress before it starts
If you are designing the part yourself, a few geometry changes reduce warping more reliably than settings tweaks:
- Round the vertical corners. A sharp 90° corner on the footprint concentrates the pull of two long edges into a single point. A fillet of a few millimeters spreads that load along a curve, so no single spot carries all of it.
- Break up large flat areas. A large solid slab shrinks as one piece. Splitting a long part into sections that are joined after printing, or adding relief slots, reduces how much shrinkage accumulates in any one direction.
- Keep infill and walls sensible. Bambu Lab’s wiki suggests about five walls and roughly 25% infill for strong structural parts instead of very high infill, and the default two walls and 15% for parts that do not need strength.
- Place problem areas toward the center of the bed. Prusa’s knowledge base suggests orienting the areas that tend to lift toward the middle of the plate.
Warped bed or warped print: telling them apart
Not every lifted edge is shrinkage. A plate that is bent, dented, poorly seated or dirty on one side produces similar-looking failures. Bambu Lab’s wiki lists an uneven heatbed among the causes of models detaching, and its troubleshooting guide notes that very small warping can even be mistaken for an extrusion or flow problem because it shows up as defects on side walls and top layers.
Use these checks to tell which one you have:
- Look at the first layer before anything lifts. If it is noticeably thinner in one area and thicker in another, the plate or leveling is the problem. A shrinking part starts from an even first layer and lifts later.
- Move the part. If failures follow one region of the plate regardless of material or model, suspect the plate or bed. If they follow the part’s corners wherever it sits, it is warping.
- Check the cooled part. Lay a straightedge across the bottom. A bottom that curves upward toward the ends is part shrinkage. A flat bottom with a rough or uneven first layer points back at the plate.
- Inspect the plate itself. Remove a flexible plate and set it on a flat surface. Check that the bed and the plate’s alignment pins are free of debris, and look for dents, scratches or worn spots in the coating.
After any plate change, re-run automatic bed leveling. Bambu Lab’s wiki recommends a full leveling run after moving the printer, maintenance or firmware updates.
Matching the fix to what you see
Work from the symptom back to the cause instead of changing everything at once:
- PLA or PETG corners lifting: clean the plate, confirm the plate type, raise the bed 5 to 10°C, disable the fan for the first three layers and add a brim or mouse ears.
- ABS, ASA or nylon lifting: enclose, preheat, raise the bed within the filament’s range, keep the fan low and add a brim. Without an enclosure, consider another material for large parts.
- Warping that started with the season: look for a new draft or a colder room first.
- Lifting always in the same area of the plate: check the plate and leveling.
- Large flat part that warps regardless: reduce infill, switch to gyroid, round the corners or split the part.
Change one thing at a time, and save what works in your filament or process profile.