


How to Dry Filament: Temperatures by Material, Dryers, Ovens and the AMS

Marco Ellis
November 19, 2026
Your prints were fine last month, and now the nozzle is crackling, PETG is stringing like a spider web and the surface of a simple PLA part looks fuzzy. Nothing in your slicer changed. The likely cause is the spool itself: filament pulls water out of the air, and once that water reaches the hot end it turns to steam. This guide covers how to tell whether a spool is wet, what temperature and time each common material needs, and how to dry it with a dedicated dryer, a Bambu Lab AMS 2 Pro or AMS HT, an enclosed printer’s heatbed, a food dehydrator or a kitchen oven. It ends with how to keep a spool dry once you have dried it.
What Moisture Does Inside the Nozzle
Bambu Lab’s wiki explains the mechanism plainly: moisture inside the filament vaporizes in the hot nozzle, the molten plastic expands, flow increases and extrusion becomes unstable. The visible result is stringing, oozing, rough surfaces, small holes, weak layer adhesion and lower part strength. In bad cases it can also cause clogs or feeding problems.
Every filament absorbs some water, but not at the same rate. Bambu Lab lists TPU, PETG, PLA Wood, PC, PVA and fiber-filled nylons and polyesters among the hygroscopic materials that should be dried before printing. Polymaker’s wiki describes PLA as far less sensitive than nylon or PC, but even PLA degrades if it sits open in a humid room for weeks. The higher the humidity and the longer the exposure, the worse it gets.
Signs That a Spool Needs Drying
You rarely need special tools to spot wet filament. Watch and listen for these symptoms, most of which appear in both Bambu Lab’s and Polymaker’s guidance:
- Popping, crackling or hissing from the nozzle during extrusion. Polymaker calls this a clear sign the filament has absorbed too much moisture.
- Bubbles or steam in the extruded line, especially visible when you purge or load filament.
- More stringing than usual with settings that used to work. If you are fighting strings, dry the spool before you touch retraction; our guide on how to fix stringing explains why that order matters.
- Rough, fuzzy or pitted surfaces and small holes in walls.
- Weak layer adhesion: parts that split along layer lines with little force.
- Brittle filament that snaps on the spool or in the feed path. With PLA, brittleness can also come from age and tension, but drying is a cheap first test.
Bambu Lab also recommends drying when you simply cannot confirm the filament was stored sealed, when the desiccant may have expired, and before any print where appearance, dimensional accuracy or strength matters.
Drying Temperatures and Times by Material
The right temperature is high enough to drive water out but below the point where the filament softens and the coils fuse together on the spool. That point differs by material, by brand and by the drying device, which is why manufacturer tables do not agree exactly. The table below compares three sources. Bambu Lab’s figures come from its wiki drying table, which it says is based on testing with its own filaments; Prusa’s are the Prusament values from its knowledge base, where it warns not to exceed them; Polymaker’s are from the material pages on its wiki.
| Material | Bambu Lab, convection oven | Bambu Lab, AMS HT | Prusament (Prusa KB) | Polymaker wiki |
|---|---|---|---|---|
| PLA (Basic/Matte) | 50 °C, 8 h | 45 °C, 12 h | 45 °C, 6 h | Not specified |
| PETG | 60–65 °C, 8 h | 65 °C, 8 h | 55 °C, 6 h | Not specified |
| ABS / ASA | 75–85 °C, 8 h | 80 °C, 8 h | ASA: 80 °C, 4 h | Not specified |
| TPU (85A–95A) | 70 °C, 8 h | 75 °C, 18 h | 60 °C, 4–6 h | 50 °C, 24 h |
| PA / nylon | PA6/PAHT-CF/GF: 75–85 °C, 8–12 h | 85 °C, 12 h | PA11-CF: 90 °C, 6 h | 50–70 °C, 6–8 h |
| PC | 75–85 °C, 8 h | 80 °C, 8 h | PC Blend: 85 °C, 5 h | 70–80 °C, 6–8 h |
Read the table as a range, not a single answer. A few practical rules follow from it:
- Check the spool label or the brand’s datasheet first. If your filament maker publishes a drying temperature, use it. Specialty blends (silk PLA, wood-filled, carbon-fiber) often have their own figures; Bambu Lab, for example, lists PLA Silk and PLA Wood slightly higher than plain PLA.
- Start at the low end of the range if you are unsure, and extend the time rather than raising the temperature.
- Air temperature and plate temperature are different things. Bambu Lab’s heatbed figures (covered below) are higher because they are the plate setting, not the temperature the spool actually reaches inside its box.
- The spool can be the limit. Bambu Lab’s wiki distinguishes low-temperature spools rated to about 70 °C from high-temperature spools rated to about 90 °C, and notes that some third-party and 3D-printed spools may deform. Prusa notes that its older black spools were only safe to about 45 °C without an extra screw holding them together, while its newer spools tolerate much more. If the material needs more heat than the spool can take, respool it onto a heat-resistant spool first.
If you are still choosing between materials, our PETG vs PLA comparison covers how differently they behave with moisture and heat.
Dedicated Filament Dryers
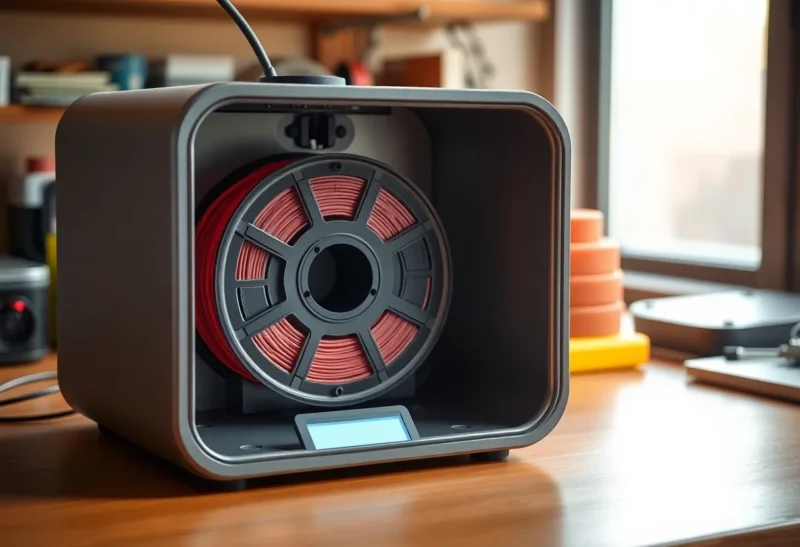
A standalone dryer is a heated box that holds one or more spools, usually with a feed hole so you can print straight out of it. It is the simplest option for most hobbyists because the temperature is controlled and the spool sits in a closed space.
Before you buy one, check two specifications on the maker’s own page: the maximum temperature and whether it circulates air with a fan. Many low-cost dryers are fine for PLA, PETG and TPU but do not reach the temperatures Bambu Lab and Prusa list for nylon and PC. If you mostly print engineering materials, buy for those numbers. Also check that your spool width fits, since some dryers are sized for 1 kg spools only.
Polymaker recommends keeping nylon in a dryer for the entire print, especially in humid climates, because it can pick moisture back up during a long job. A dryer with a feed port makes that easy.
Drying in an AMS 2 Pro or AMS HT
If you own a newer Bambu Lab printer, its filament system may already be a dryer. Bambu Lab’s wiki lists the limits clearly:
- AMS 2 Pro tops out at 65 °C. Bambu Lab says it suits filaments with a drying temperature of 65 °C or less, such as PLA and PETG. For ABS, ASA, PC, TPU and nylon, Bambu’s table marks the AMS 2 Pro with a warning that it may not dry them fully.
- AMS HT (and the AMS 3H) reaches 85 °C and handles everything in the table above. Bambu Lab notes that PPS-CF and PPA-CF may still not dry completely in either and recommends the heatbed method for those.
- AMS lite, the open unit sold with the A1 and A1 mini, has no drying function.
A few details from Bambu Lab’s guide that are easy to miss:
- Power. Drying needs external power. On X1, P1 and A2L printers, each AMS 2 Pro needs its own power adapter. On H2-series, P2S and X2D printers, one AMS 2 Pro can be powered through the printer, but Bambu notes that if you dry without an adapter, the P2S and X2D cannot heat the bed or hotend or move the axes while drying, because power goes to the AMS first. The AMS HT always needs its standard power cable.
- Rotating vs static drying. In rotating mode you pull the filament end out of the feed port and secure it on the side of the spool, and the spool turns 30° every five minutes for more even heating. Bambu Lab says static drying is not suitable for PLA, PVA, support materials or TPU on most devices, because those soften below the drying temperature and can stick together.
- Mixed spools. When drying hotter materials such as ABS or PETG, remove PLA and TPU first or they can soften and deform. Drying PLA with other spools present is fine.
- Printing while drying is supported, but the system lowers the temperature to the softening point of the most sensitive filament in the unit. Bambu’s example: drying PETG while printing PLA drops the setting to 45 °C.
Remote start from Bambu Studio or Bambu Handy requires recent firmware on H2D, H2S, P2S, X2D and A2L; at the time of writing Bambu Lab lists P1S, P1P, X1C, A1 and A1 mini as not yet supported for remote drying, so on those you start it from the printer screen.
Using an Enclosed Printer’s Heatbed (P1S, P2S, X1 and H2 Series)
Bambu Lab documents a heatbed drying method, but only for enclosed printers. Its wiki states that the P1P, A1, A2L and A1 mini are open-frame printers and cannot dry filament with the heatbed. On a P1S, P2S, X1 or H2-series machine, the procedure is:
- Confirm the spool is heat resistant.
- Unload filament from the toolhead so nothing softens inside the extruder.
- Clear the build plate and the space under it, then lower the bed.
- Place the spool on the bed inside a cover. The original cardboard filament box works, or you can print a drying cover in PC or PA-CF; Bambu Lab links its own design on MakerWorld.
- Set the bed temperature and time. On H2-series printers there is a drying routine on the screen; on the P1S you set the bed temperature and track the time yourself.
- Flip the spool about every six hours, wearing gloves.
Bambu Lab’s heatbed settings are higher than its oven figures because they are plate temperatures: 60–70 °C for 12 hours for PLA Basic, 75–85 °C for 12 hours for PETG, and 90–100 °C for 12 hours for ABS, ASA, PC and fiber-filled nylon. The printer is tied up for the whole cycle, so this method makes most sense for an occasional spool. If you are weighing an upgrade between these two machines, our P2S vs P1S comparison covers what else changed.
Food Dehydrators: Workable With Two Checks
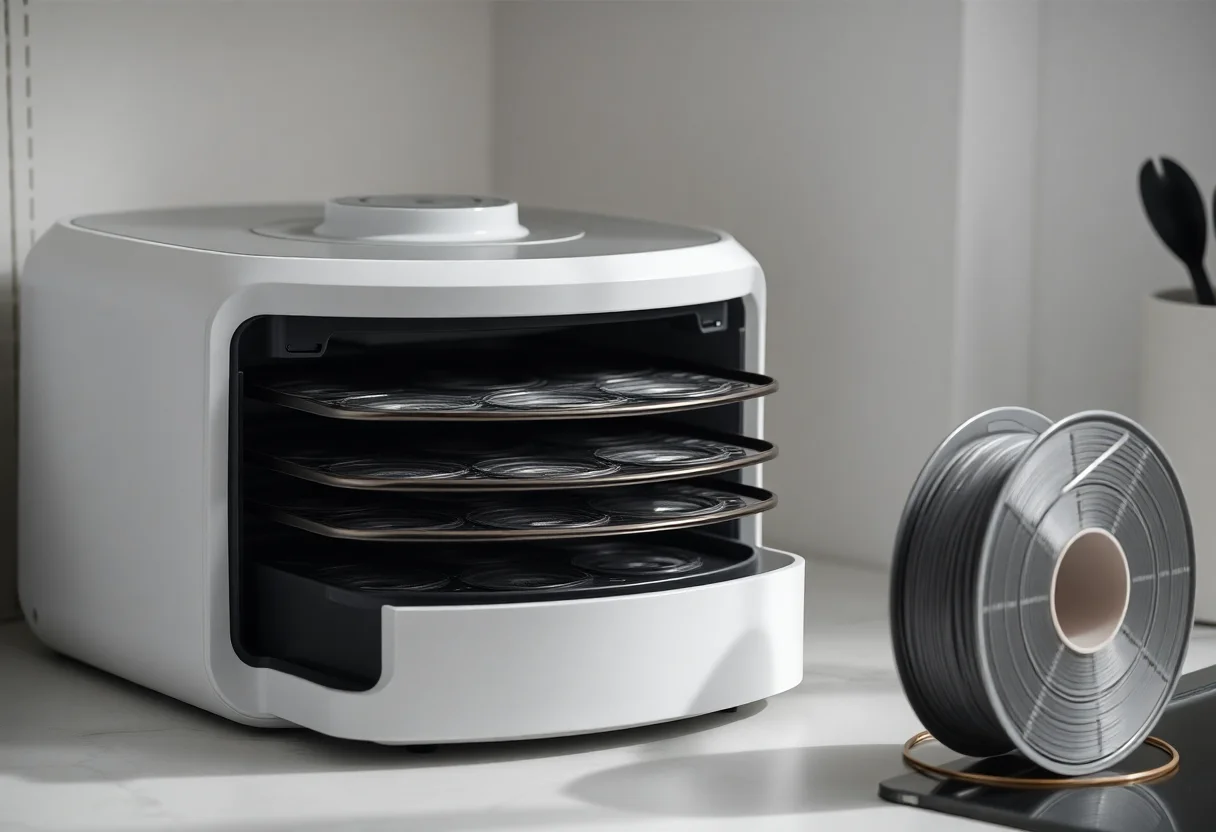
A food dehydrator with a fan and adjustable thermostat is effectively a forced-air dryer, and many people use one for filament. The two things to check are the maximum temperature, which may be too low for nylon or PC, and whether a spool physically fits. Most need the middle trays removed or a printed spacer ring to make room for a full spool. Use a separate thermometer to confirm the real temperature at spool level, because dehydrator dials are designed for food, not plastic, and actual temperatures can differ from the setting.
Drying Filament in a Kitchen Oven
An oven can work, and both Polymaker and Prusa mention it, but it is the method with the least margin for error. Prusa’s knowledge base points out that home ovens lack precise temperature measurement, recommends an external thermometer, and notes that many cannot hold a temperature low enough for some filaments. Bambu Lab’s “convection oven” figures assume a controlled drying oven, not a kitchen appliance.
If you use one anyway:
- Measure first. Run the empty oven at its lowest setting with an oven thermometer near where the spool will sit, and watch it for 30 minutes. Many ovens overshoot as the element cycles on.
- Stay at or below both limits: the filament’s drying temperature and the spool’s rating. A plastic spool that warps in the oven can ruin the whole roll.
- Keep the spool away from the heating element, use a middle rack, and never put a cardboard spool or packaging near an exposed element or a gas flame.
- Do not leave it unattended, and avoid the oven’s broil or fast-preheat modes, which can spike the temperature.
Safety note: overheated plastic can soften, deform and give off fumes, and an oven running for many hours carries a fire risk if something goes wrong. Ventilate the kitchen and stop if you smell hot plastic. A dedicated dryer avoids most of these risks. Read our safety disclaimer before trying this method.
Keeping Dried Filament Dry
Drying only helps if the spool stays dry afterward. Bambu Lab recommends letting the filament cool for five to ten minutes after drying, then moving it straight into a sealed container or an AMS with active desiccant and using it soon. Some practical targets and habits:
- Aim for under 20% relative humidity. Bambu Lab’s wiki on sealed storage gives this as the preferred level and notes that indoor air is usually 45–65% RH, higher in humid weather. Polymaker says moisture protection is especially critical when ambient humidity exceeds 70%.
- Use airtight containers or vacuum bags with desiccant. Polymaker calls vacuum-sealed storage with desiccant the minimum requirement; Prusa recommends a closed box or vacuum bag with desiccant, and drying highly hygroscopic materials such as nylon and PVA before every print.
- Put a cheap hygrometer in each box. Bambu Lab suggests monitoring sealed storage with one. When the reading creeps up, regenerate or replace the desiccant.
- Do not rely on the AMS lite for long-term storage. It is open to room air, so spools left in it for weeks will absorb moisture.
- Label the date you dried a spool, so you can tell a settings problem from a moisture problem later.
For most people, the workable routine is to dry a spool when symptoms appear or before an important print, then store it sealed with desiccant. If the brand publishes its own drying numbers, follow those over any general table.